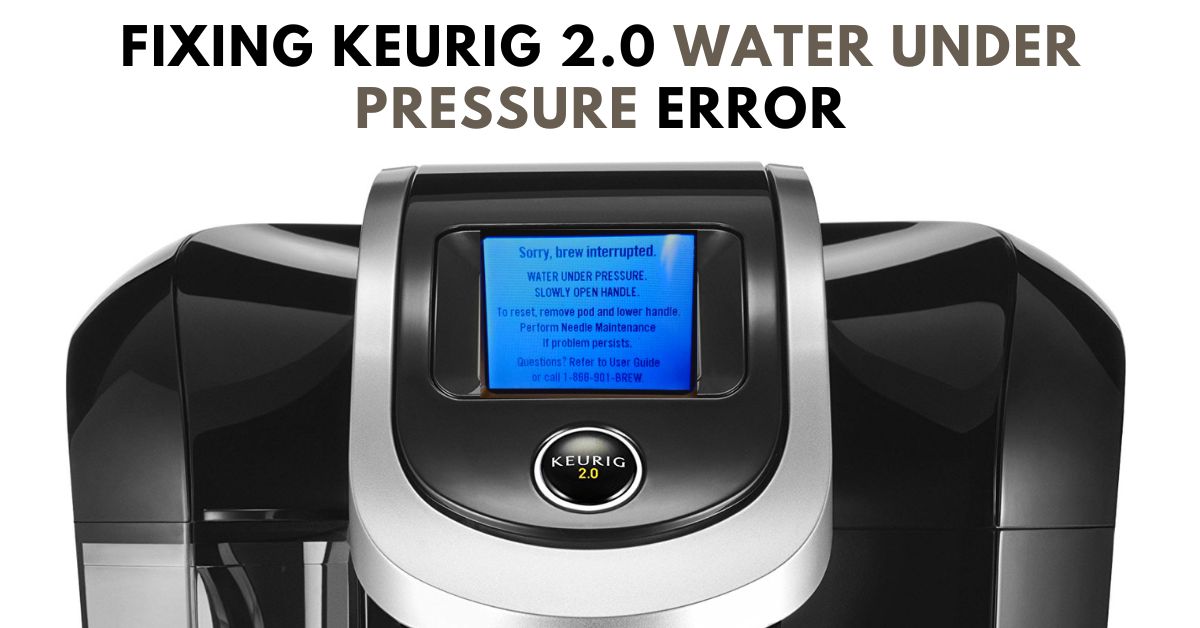
Your Keurig 2.0 machine may occasionally show an error message stating, ‘Sorry, Brew Interrupted WATER UNDER PRESSURE.’ This issue is often due to some clogs in the machine. To resolve this, you’ll need to undertake some maintenance procedures to clear the obstruction in the needles. Fortunately, there is a straightforward solution. By following a few simple techniques, you can easily rectify the “Water Under Pressure” error on your Keurig 2.0.
Continue reading to discover the steps!
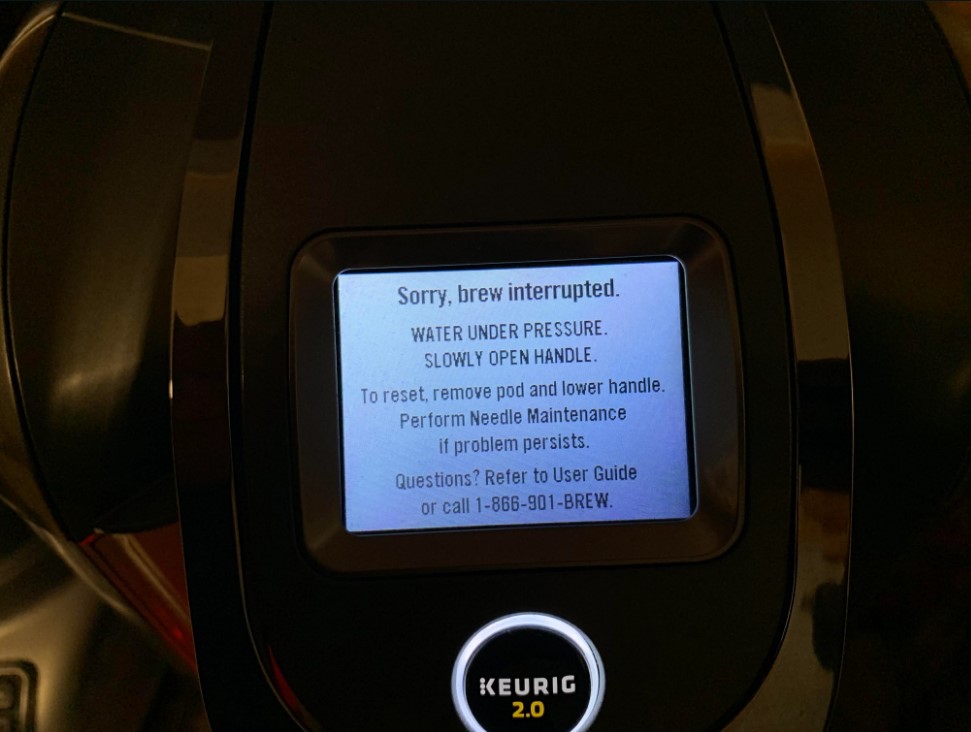
Why Keurig 2.0 Says WATER UNDER PRESSURE
The most common issue many people have with their Keurig 2.0 machines is that they will sometimes display a water under pressure error message on the screen. This alert serves as a built-in safety mechanism to prevent potential damage to the machine and to ensure the quality of your brew. Generally, the message indicates that water is unable to flow through the machine as it should, often due to a blockage or clog in the system.
Clogged Needles
The most common reason for this message is a clogged needle. Your Keurig machine has needles that puncture the K-cup pods to allow water to flow through and brew your coffee. Over time, coffee grounds or tea leaves can accumulate, causing a blockage.
If this happens, the cause is that the needle assembly inside the machine is dirty or blocked. The needles are located on the top bottom of the chamber, enabling it to punch off the K-cup, and that allows water for the infusion of coffee grinds.
Internal Tube Blockage
Another area that can become obstructed is the internal tubing of the machine. Mineral deposits from hard water can accumulate over time, leading to reduced water flow and increased pressure.
Early Signs of Keurig Blockage
There are some early warning signs that indicate that your Keurig Needle is clogged. Any of these issues may cause your brewer to malfunction.
- Coffee starts to bitter taste, even after descaling.
- Brewer takes more time to brew.
- Keurig flows a lesser cup of coffee than you selected.
- Brewer unexpectedly shut off while brewing.
- Coffee leakage from the bottom of the machine.
These early signs warn you to clean the needle as soon as possible to avoid unexpected damage.
How To Fix Keurig 2.0 WATER UNDER PRESSURE Message
The key to resolving WATER UNDER PRESSURE lies in regular maintenance and understanding the specific areas that require attention. For the Keurig 2.0 model, there are primarily two solutions to consider: cleaning out the needle and unclogging the tubes inside the coffee maker. The first line of action is to clean the needle.
⚠️Remember to be careful when you clean the top Needles, as these needles are so sharp.
Method 1 – Clean Keurig 2.0 Needle
Maintaining the cleanliness of the needle in your Keurig 2.0 is a straightforward process that can prevent many issues, including the “Water Under Pressure” message. The most convenient way to clean the needle is by using the orange brewer maintenance accessory. This tool usually comes with most Keurig 2.0 models, but if you’ve misplaced yours, replacements are readily available for a nominal cost.
Using Orange Tool
Here’s how to unclog the needle using the orange maintenance accessory:

- Turn off and unplug the machine.
- Fill the orange tool‘s silicone bulb with water.
- Place the tool in the pod holder, arrows down. Press firmly.
- Carefully open and shut the lid five times to remove the grounds.
- Take out the tool and inspect for removed grounds.
- Power ON the brewer and run a 6-ounce cleansing brew, using water or a rinse pod. Discard the liquid.
- Rinse the orange tool with warm water and air dry.
- Click the pod holder and water tank back in place.
Cleaning Keurig 2.0 Needle Using Paper Clip
A DIY alternative to the orange maintenance tool is to use a paper clip. Here are a few steps on how to do without a tool:
- If you don’t have access to the orange maintenance tool, a paper clip can serve as an effective DIY alternative. Exercise caution due to the sharp needles involved.
- Turn off the brewer, unplug it, and remove the water reservoir.
- Open the brewer’s head and look underneath. Gently pull the pod holder away from the brewer by grabbing its sides.
- Press buttons on both sides to separate the holder from the housing. Push the lever to reveal the exit needle, then flip the holder over while holding the lever down.
- Insert the straightened end of the paper clip into the exit needle and move it around in a circle to loosen any clogs. Rinse the holder and set aside.
- Open the handle to locate the top entrance and exit needles. Insert the paper clip into each and move it around to clean.
- Before using the brewer, run a 2-3 hot water cycle.
Using Keurig Rinse Pods
One of the easiest methods to clean the clogged needle by using the Keurig Rinse Pods. The pods contain an effective cleaning solution that can help you to clean the needle in no time.
- Turn on the brewer and place the Rinse Pod in the K-cup holder.
- Now place the mug under the coffee outlet and brew an 8 oz cup as usual.
- After the brew is complete, remove the pod and run a cleaning cycle. You’re done!
Method 2 – Unclog Keurig’s Internal Tubes
After addressing the needles, the next step is to tackle potential clogs in the internal tubes of the coffee maker. Even with clean needles, some users still encounter the “Water Under Pressure” message. This is often due to mineral deposits that accumulate over time, particularly with frequent use and insufficient cleaning. Air trapped in the tubes from brewing with a low water level can also cause this issue.
The first thing you should do is clear the water tank exit part. This can be done by following this process:
- Remove and empty the water tank and filter holder.
- Flip the reservoir over to find the nozzle with the spring. Use an eraser end of a pencil to push the spring a few times. If it moves easily, the issue likely lies in the water line.
- Reattach the tank and add some water.
- Suck up some water with a turkey baster.
- Directly splash the baster’s contents into the nozzle where the tank meets the water line. This flushes out the line and nozzle.
- Continue this process until the water line runs clear.
- Run a hot water cycle to finalize cleaning.
- Finally, run a hot water cycle to ensure the water line is thoroughly cleaned.
These concise steps should help you efficiently unclog the tubes inside your Keurig coffee maker and resolve the “Water Under Pressure” issue.
If your problem is fixed but does not deliver a selected amount of coffee when brewing, then you will need to Descale your brewer using a Keurig descaling solution. This will remove any buildup inside the machine that may be causing pressure problems.
Conclusion
Understanding and addressing the “Water Under Pressure” issue in your Keurig machine is crucial for ensuring optimal performance and longevity. From needle maintenance to tube unclogging, the solutions are straightforward and can be performed with basic household items. Regular upkeep not only resolves current issues but also prevents future complications, making every cup of coffee a perfect brew. Keep these tips in mind, and your Keurig will serve you well for years to come.
Why does my Keurig keep saying water under pressure?
Your Keurig displays this message as a safety feature to indicate that water is not flowing through the machine as it should. This is often due to a clog in the system, either at the needle that punctures the K-cup or within the internal tubes. Mineral deposits and trapped air can also trigger this message.
How do you do needle maintenance on a Keurig without a tool?
If you don’t have the specialized orange maintenance tool, a straightened paper clip can serve as an effective alternative. Turn off and unplug the machine, remove the pod holder, and use the paper clip to gently dislodge any coffee grounds or tea leaves from the needles. Move the paper clip in a circular motion a few times in each needle, then rinse the holder with water.
How do I know if my Keurig needle is clogged?
A clogged needle will often result in incomplete brew cycles, smaller-than-expected beverage volumes, or the “Water Under Pressure” message. You may also notice that water is not flowing through the K-cup as it should, or you may hear unusual noises during the brewing process.

