Imagine waking up to the aroma of freshly brewed coffee, only to take a sip and find it tasting off. The culprit? It could be your Keurig water filter. Yes, that small, often overlooked component plays a crucial role in ensuring every cup of coffee you brew is as perfect as the last.
Changing the Keurig water filter is a simple yet significant step that can dramatically improve the taste of your coffee and the longevity of your machine.
In this guide, we’ll demystify replacing the water filter in your Keurig, including the popular Keurig 2.0 model.
Let’s dive in!
Why Do You Need to Replace Keurig Water Filter?
The secret to a perfect cup of coffee isn’t just in the beans—it’s in the water. Your Keurig water filter plays a pivotal role in this, working tirelessly to remove chlorine, calcium, and other minerals from your tap water. These impurities, if not filtered out, can negatively impact the taste and quality of your coffee, leaving you with a brew that’s more bitter than blissful.
Over time, however, the filter can become a victim of its own success. As it traps these impurities, it can get clogged, reducing its effectiveness and causing your coffee to taste stale or bitter. This is why Keurig recommends replacing the water filter every two months or after 60 tank refills, whichever comes first.
Regularly replacing the water filter does more than just improve the flavor of your coffee—it also extends the lifespan of your Keurig. By preventing mineral buildup inside the machine, you’re ensuring that your Keurig continues to function optimally. Plus, it can save you money in the long run by reducing the need for bottled water or expensive descaling products.
But what if you’re already using filtered water in your machine? Do you still need a filter? The answer is yes, especially if you’re using tap water. Tap water can be “hard,” meaning it’s high in minerals. A filter is crucial in such cases to help maintain the life of your coffee machine. If you’re unsure about the mineral content of your water, consider getting a low-cost water testing kit.
How Do You Know When to Replace Keurig Water Filter?
Knowing when to replace your Keurig water filter is crucial for maintaining the quality of your coffee and the performance of your machine. The general rule of thumb is to replace the water filter every two months or after 60 tank refills. If you’re a heavy user, brewing multiple cups a day, you might need to replace it more frequently.
But how do you keep track of this? One way is to set a reminder for 60 days from the day you install a new filter. This can be a simple alert on your phone or a note on your calendar.
Another sign that it’s time to change the filter is if you notice a change in the taste of your coffee. If your brew starts to taste off or different from usual, it might be because the filter is no longer effectively removing impurities from the water.
Some Keurig models, like the Keurig 2.0, have a handy water filter reminder feature. This feature alerts you when it’s time to change the filter by displaying a message on the screen. Here’s how to enable it:
- Navigate to ‘Settings’ on your Keurig 2.0.
- Select ‘Water Filter Reminder’.
- Press ‘Enable’ then ‘Save’.
Where Is The Water Filter On A Keurig?
The water filter in a Keurig coffee maker is typically located inside the water tank, right at the spot where the water moves from the container to the coffee maker. However, it’s important to note that not all Keurig models come with a water filter.
Here’s a breakdown of Keurig models and whether they come with a water filter:
| Brewers With A Filter | Brewers Without A Filter | |
| K-Classic | K-Elite | K-Mini |
| K-Supreme, K-Supreme Plus | K-Select | K-Mini Plus |
| K-Duo Plus | K-Slim | K15 |
| K-Cafe | K425, K525, K250 | Rivo |
| K-Latte | K-Compact | Small Office Brewers |
| K-Duo, K-Duo Essentials | ||
If you’re searching for the water filter in your Keurig and can’t find it, it might be because your model doesn’t have one. Models without a water filter include the K-Mini series, the K15, the Rivo, and small office brewers.
How Do You Choose the Right Water Filter For Keurig?
If you’re looking to replace the water filter holder in your Keurig machine, it’s important to know which type fits your model. The models with a water filter use one of three types: the classic, the tall handle filter, or the short handle filter.
If you have a K-Classic model, you’ll need to check your serial number to determine which type of filter your machine uses. If the serial number starts with 44, 45, or 48, your machine uses the Classic filter. If it starts with 55, your machine uses the Tall Handle filter.
Here’s a table to help you determine which type your brewer uses:
| Brewers With A Filter | Type Of Filter |
|---|---|
| K-Classic (serial number starting with 44, 45 or 48) | Classic |
| K-Classic (serial number starting with 55) | Tall Handle |
| K-Supreme | Tall Handle |
| K-Supreme Plus | Tall Handle |
| K-Duo Plus | Tall Handle |
| K-Cafe | Tall Handle |
| K-Elite | Tall Handle |
| K-Select | Tall Handle |
| K-Slim | Tall Handle |
| K425 | Tall Handle |
| K525 | Tall Handle |
| K250 | Short Handle |
| K-Compact | Short Handle |
| K-Latte | Short Handle |
| K-Duo | Short Handle |
| K-Duo Essentials | Short Handle |
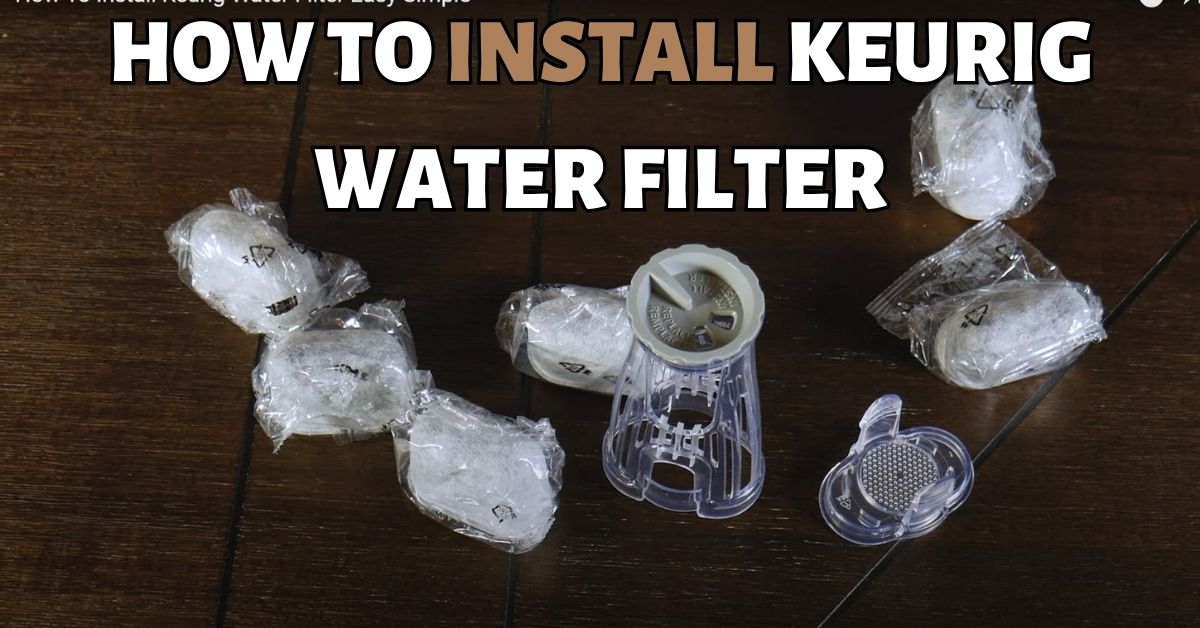
How To Replace Keurig Water Filter
Replacing the water filter in your Keurig coffee maker is a straightforward process that can be completed in just a few steps. Here’s a general guide on how to replace the water filter for K Duo and other Keurig models:
- Remove the Old Filter: Start by removing the old filter from the water tank. It’s usually located inside the tank, right where the valve brings water from the tank into the brewer.
- Soak the New Filter: Take a new filter and soak it in clean water for about 5 minutes. This helps to activate the charcoal in the filter, making it more effective at removing impurities from the water.
- Rinse the New Cartridge: After soaking, rinse the new cartridge under the sink for about 1 minute. This helps to remove any loose charcoal particles from the filter.
- Rinse the Mesh in the Lower Holder: Rinse the mesh in the lower holder of the filter. This helps to ensure that the filter fits properly and works effectively.
- Insert the Cartridge into the Holder: Insert the cartridge into the upper holder and snap on the lower holder. Make sure the cartridge fits securely in the holder.
- Insert the Filter into the Tank: Insert the filter into the empty tank, above the black holder, and press firmly down. Make sure the filter is securely in place.
- Fill the Tank with Fresh Water: Finally, fill the tank with fresh water. This prepares your Keurig for brewing with the new filter.
Remember, if you have a K Duo model, the main differences are that the water reservoir is located at the back of the machine, not the side, and it uses a short handle, not a tall one as shown in some videos or guides.
How To Replace Keurig 2.0 Water Filter
Replacing the water filter in your Keurig 2.0 is a simple process that can make a world of difference in the taste of your coffee. Here’s a step-by-step guide to help you through it:
- Remove the Old Filter: Start by gently removing the old filter from its home in the water tank. Depending on your model, this could be on the side reservoir or at the rear of the machine.
- Prepare the New Filter: Take a new filter and give it a good soak in clean water for about 5 minutes. This helps to activate the charcoal in the filter, priming it to remove impurities from your water.
- Rinse the New Filter: After its soak, rinse the new filter under the tap for about a minute. This helps to wash away any loose charcoal particles that might have been loosened during the soak.
- Clean the Holder: Now, give the mesh in the lower holder a good rinse. This ensures that the new filter will have a clean and effective place to rest.
- Insert the New Filter: Next, insert the new filter into the upper housing and snap on the lower holder. Make sure it’s secure and ready to go.
- Set the Date: Now, set the install date to the current month. This will help you remember when it’s time to replace the filter again.
- Install the Filter: Finally, place the filter into the bottom of the water tank and press it down firmly. Make sure it’s securely in place.
- Fill the Tank: Last but not least, fill the tank with fresh water. This prepares your Keurig 2.0 for brewing with the new filter.
And there you have it! You’ve successfully replaced the water filter in your Keurig 2.0.
How Do You Maintain Your Keurig?
Replacing the water filter is not the only thing you need to do to keep your Keurig in good shape. You also need to clean and descale your machine regularly to prevent clogs, leaks, and malfunctions.
Keep it Clean: Regularly clean your Keurig to prevent any build-up of coffee grounds or mineral deposits. Don’t forget to clean the pod holder, the water reservoir, and the drip tray. A damp cloth usually does the trick!
Change the Water Filter: Remember to replace the water filter every two months or after 60 tank refills. This helps to keep your coffee tasting great and extends the lifespan of your machine.
Descale Regularly: Over time, mineral deposits from the water can build up inside your Keurig. This can affect the taste of your coffee and the performance of your machine. Descale your Keurig every 3-6 months to keep it running smoothly.
Use Fresh Water: Always use fresh water for each brew. Standing water can lead to the growth of bacteria or mold.
Turn it Off: When you’re not using your Keurig, turn it off. This not only saves energy but also extends the life of your machine.
Regular Check-ups: Keep an eye on your machine’s performance. If you notice any changes in the taste of your coffee or the way your machine is operating, it might be time for a little maintenance.
Conclusion
So, that’s it! Taking care of your Keurig is easy and it makes your coffee taste better. Changing the water filter, cleaning your machine, and descaling are all important. Each step helps make your coffee taste great.
Think of your Keurig as your coffee buddy. If you take good care of it, it will make great coffee for you every time.

