Have you ever encountered an error code while using your Keurig coffee maker? Error codes are usually shown on the display when something is wrong with the brewer. These errors range from 1 to 20, and they can be a bit tricky to troubleshoot.
Knowing the cause and solution to each error code is key to getting your Keurig working again. If this has happened to you, don’t fret! This article will provide an overview of common Keurig error codes and guide how to troubleshoot these codes.
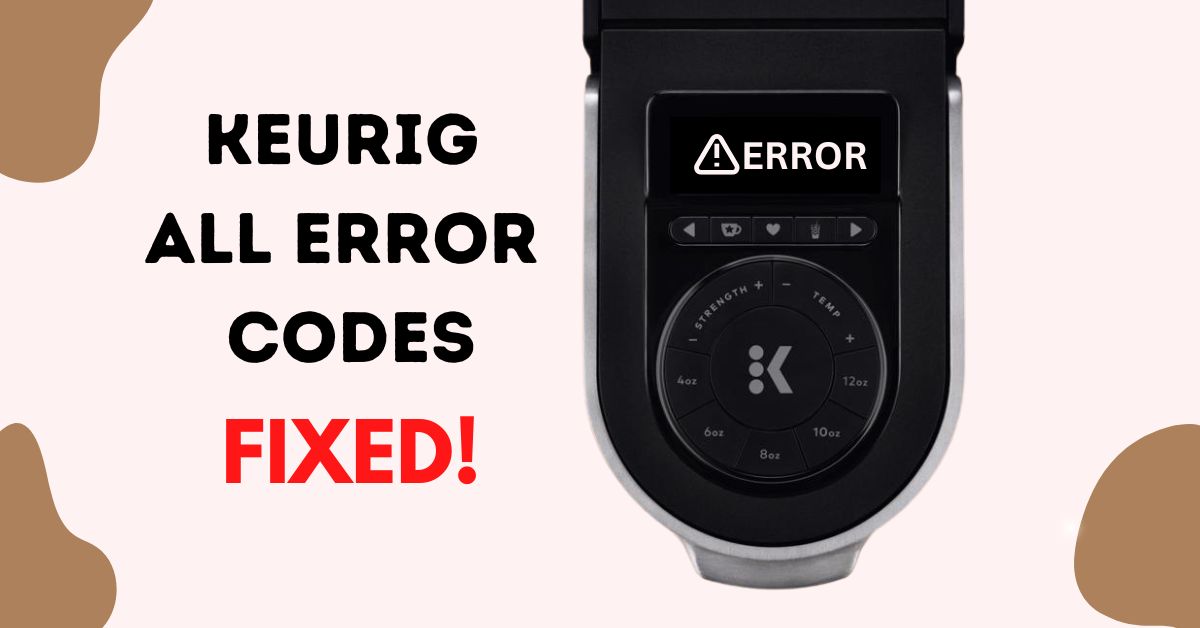
The Most Common Keurig Error Codes
Like any other machine, Keurig is not immune to errors. Error codes help you identify problems with your device and understand how to address them. Your brewer might come up with errors at any time. If this happens, try to troubleshoot the issue. The most common Keurig error codes include 4, 8, 11, and 17.
- Keurig error code 2 occurs when the brewer experiences a delay between brew cycles and requires a few minutes to reset. You should first unplug your Keurig and leave it unplugged for two minutes, then plug it back in and try brewing again.
- Keurig error code 8 typically happens when the power supply is interrupted due to a power surge or being unplugged. To fix this error, unplug your Keurig, wait two minutes, and then plug it back in.
- Keurig error code 11 occurs when there is not enough water in the tank to complete a brew cycle. Before brewing again, check the tank to ensure it is full of fresh, cold water.
- Keurig error code 17 indicates an overpressure detected in the brewer. This error can occur if you use a K-Cup with too much pressure. To fix this, you should open the brewer lid, remove the K-Cup, and then close the lid again. After that, you can try brewing again.
If you encounter any of these errors, you should be able to troubleshoot and fix them yourself with the information provided above. If you continue to experience problems, there are also my few tips below you can try to solve them.

How To Fix Common Keurig Errors Codes
Few steps can be taken to fix these issues and allow you to get your morning caffeine dose without interruption. Here are my experiences and steps to help you troubleshoot common Keurig error codes.
Brew Without Reusable Pod
Reusable pods are incompatible with all Keurig models, and they can cause issues if they don’t fit properly. Try running a brew cycle without any pod in the chamber to check if this is the case. If the error disappears, the problem is likely related to the reusable pod.
If the error still persists, even without the pod, it may be time to look for other solutions.
Fill up the Water Reservoir
Filling up the water reservoir when experiencing error codes on your Keurig is important. The water reservoir needs a minimum of 6 ounces of water to brew, and adding at least an additional 2 ounces of water may help fix the error code. After doing this, press the brew button. If this does not work, try filling your tank to the MAX line.
Additionally, it is advised to remove the water tank and reattach it, pressing down on it gently. Afterward, try brewing again and see if the error code has cleared.
Replace the Water Filter
If your Keurig displays an “Add Water” error code, you should start by checking the water filter. Over time, water filters can become clogged with particles and sediment, which can cause the Keurig not to function properly. To remove the water filter:
- Start by turning off the Keurig.
- Remove the reservoir and pull out the water filter.
- Insert the new water filter, or re-install the existing filter, and replace the reservoir.
- Turn the Keurig back on, and you should be good to go.
Descale The Keurig
Calcium buildup probably affects your machine if you find it in your water tank. This calcium buildup can clog your brewer, preventing the water from dispensing and displaying an “Add Water” error.
It is important to descale your Keurig brewer every 3-6 months. Keurig has a descaling solution specifically designed to work with all models of its machines. The safe formula has no odor and works fast to remove mineral buildup with gentle citric acid.
To descale your brewer, follow the instructions on the package. If you have had your machine for more than 6 months and never descaled, or if you have very hard water, you should run this process at least 2 times.
Once the descaling is complete, rinse the tank and filter it with fresh water. This will help ensure that all traces of the descaling solution are removed from the system before you use it again.
Clear Possible Air Lock
If you ever run a brew cycle with insufficient water in the tank, air can get inside the water tubes. This can cause a clog that prevents Keurig from detecting water. To clear this possible airlock, follow these instructions:
- Fill the reservoir about a quarter of the way with water.
- Take Keurig with both hands and shake up and down quickly. You will see little air bubbles coming up from the valve at the base of the reservoir. Keep shaking until the bubbles stop appearing.
- Fill the water tank with water to the max line.
- Run a water-only cycle. If water starts flowing through the machine, you’ve fixed the issue.
Following these steps, you can easily clear a possible airlock on your Keurig, allowing it to detect water and brew correctly.
Clean the Needle
When you brew a single cup of coffee using a K-Cup, needles inside your brewer puncture the pod and create holes for the hot liquid to escape. If some of these grounds remain stuck around the needles, they will grow stale and become hard. It is likely for this to occur if one needs to dispose of their pods promptly after brewing (if at all). Eventually, the ground coffee buildup blocks water from flowing through the brewer. So it can’t produce any liquid – which may lead to clogged needles.
Unclogging them is relatively easy, and there are several methods you can use to get your Keurig up and running again.
The most common method for unclogging the needles is using a paperclip or needle.
- Turn off your brewer and unplug it, then eject the water reservoir.
- Open the brewer’s head and look underneath the head. You’ll see the needle holes here.
- Using the paper clip, clear out needle holes.
- Then press the edges of the pod holder housing and gently pull it away from the brewer.
- Now press the buttons on both sides to separate the pod holder from the housing. Push the lever to uncover the bottom exit needle.
- Hold the lever down as you flip the pack holder over.
- Insert the straightened end of the paper clip into the exit needle and move it around in a circle to loosen any clogs.
- When you’re done, rinse the pod holder and reassemble all parts.
- Before using the brewer, run a hot water cycle.
You can also use Keurig Rinse Pods. This is an effective cleaning solution that’s designed specifically for cleaning needles on Keurig machines. All you have to do is place the Rinse Pod into the brewer and let it work its magic. Then you can run a hot water cycle to rinse the needle and make sure it’s completely clean. And you’re done!
Clean Reservoir Valve
A clogged water tank exit is the most common issue with Keurig error codes. This occurs when mineral buildup from hard water accumulates around the nozzle, preventing it from detecting the water. To unclog the nozzle,
- First, empty the water tank and remove the water filter holder.
- Flip the reservoir over and locate the nozzle with the spring.
- Try pushing the spring down a few times to make sure it’s moving with ease.
- Next, put the tank back on the machine and fill it up with two to three inches of water.
- Use a turkey baster to suck up some of the water from the tank, then squirt it directly into the top side of the black nozzle where the water should exit.
- Repeat this process several times, working all the way around the nozzle two or three times. If you start to see particles floating up from the nozzle, this is the calcium buildup that was causing the block.
- Finally, try running a hot water cycle into a measuring cup to see if the machine will brew a full cup.
Conclusion
Keeping your Keurig brewer regularly maintained is important to prevent it from displaying any error codes. If your Keurig does display an error code, it is important to take the necessary steps to diagnose and fix the issue. This can include descaling your Keurig or checking the water reservoir. You can resolve most Keurig error codes quickly and easily with a few simple steps.
If you still have issues with your Keurig after following the troubleshooting tips listed above, you should contact the company directly for further help. You can call 1-800-932-2974.

