Ever had your Keurig flashing lights at you like it’s trying to tell you something? You’re not alone. Many of us rely on our Keurig for a quick cup of coffee. But when it starts blinking lights, it can be confusing.
Whether it’s the descale light that won’t stop blinking or the power button that’s gone rogue, these light signals are your Keurig’s way of saying, “Hey, something’s not right!”
But don’t worry, you don’t need to be a coffee machine whisperer to decode these signals. This comprehensive guide will walk you through the most common Keurig light patterns, what Keurig keurig lights flashing mean, and how to fix them.
So, if your Keurig is acting up, stick around. We’ll help you get back!
Keurig Flashing Lights Meaning
The blinking pattern on your Keurig can tell you what kind of troubleshooting you might need to do. There are a few flashing light error codes, each with a specific meaning. If your Keurig light is blinking, figuring out which pattern is displayed before starting any fixes is essential.
| Keurig Blinking Light Pattern | Meaning |
|---|---|
| All Lights On | Problem with the needle or the Charcoal Filter. |
| Descale Light | Time for Descale. |
| Add Water Light | Blockage inside the Keurig |
| Blue Light Flashing | Low or empty water tank. |
| Frother Light Flashing | Issues with the frother’s base or whisk. |
| Brew Button Blinking | Debris in pump or waterline. |
| Power and Clock Light Blinking | Internal error. |
| Red Light Flashing | Overpacked reusable K cup. |
| Add Water, Heating, Smallest Cup Size Lights Flashing | Brewer needs priming. |
| Descale Light Remains After Descaling | Re-fillable K cup issue. |
How To Solve Keurig Flashing Lights
So, you’ve noticed that your Keurig flashing lights at you. Don’t fret! Let’s dive into what these lights are trying to tell you and how you can get back to your coffee routine.
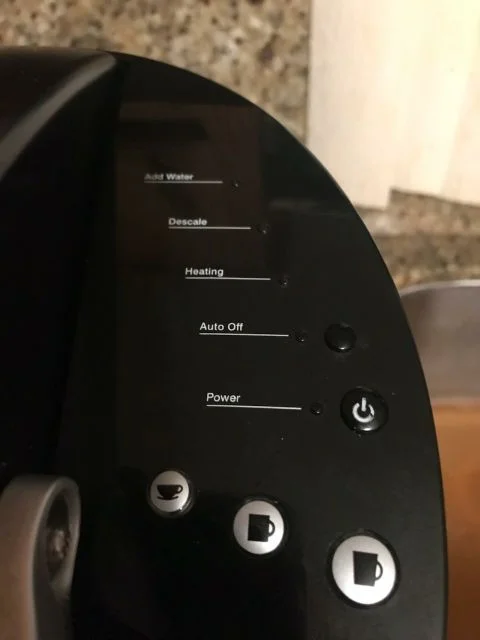
Keurig All Lights On Solid
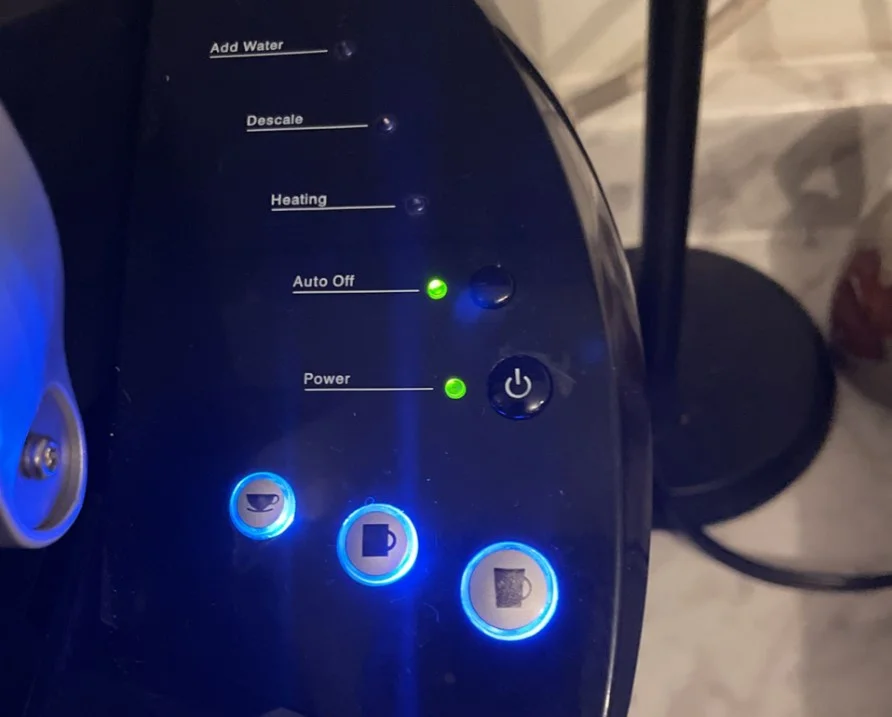
When all the lights on your Keurig are on and won’t turn off—usually the ‘Add Water,’ ‘Heating,’ and ‘Medium Cup’ lights—it’s often a sign that something’s up with the charcoal filter or the needle in your machine. These lights are usually blue, but your Keurig might have different colors. Here’s how to tackle this issue:
Step 1: Check the Water Reservoir
First things first, remove the water tank and empty it. Check for any blockages at the bottom valve of the tank and the base unit. If you find any, clear them out. Also, make sure the filter in the tank sits right in its holder. Fill the tank with fresh water and place it back, making sure it connects securely.
Step 2: Run a Water-Only Brew
Remove any coffee pod from the brewer. Run a water-only cycle at either 6 oz or 8 oz into an empty cup. If the water volume matches your chosen size, congrats, you’ve fixed your Keurig! If not, let’s move to the next step.
Step 3: Check the Charcoal Filter
If you have a water filter in the tank, take it out. Run another water-only brew and measure it. If the water amount is correct, you need a new charcoal filter. Change it every 2-3 months for the best results. If the water amount is still off, move on to the last step.
Step 4: Run More Water-Only Brews
If you’re not using a filter or the correct volume wasn’t achieved, try running three more water-only cycles. If you still don’t get the right amount by the third try, it’s time to clean the needles (I’ll cover that in the next section). If the lights are still on after all this, it’s time to call Keurig support at 1-866-901-2739.
Keurig ‘Add Water’ Light Flashing
So, you’ve filled the water tank to the brim, but that pesky “Add Water” light just won’t quit. What gives? Well, there are usually two main culprits: a blocked valve or an airlock in the waterline. Let’s break down how to tackle each issue.
Clear the Valve
The Keurig may indicate a low water level in the reservoir due to possible blockage in the valves that connect the reservoir to the brewer. It would help if you cleaned the valve before fixing anything else.
- Take off the water reservoir and empty it.
- Flip the tank over and look at the valve at the bottom. If you see any blockages, clean them using a cotton swab dipped in vinegar.
- Next, examine the nozzle where the tank connects to the brewer. If you find anything stuck there, clear it out.
- Wash the tank with soapy water, fill it up to the MAX line with fresh water, and put it back on the brewer.
- Finally, run a water-only brew cycle. If the “Add Water” light turns off, you’ve solved the problem!
The Add Water light should now be off, and you’re good to go. If not, your Keurig waterline might have Airlocked.
Clear Air Lock From Waterline
Sometimes, the issue isn’t a blockage but an airlock in the waterline. This usually happens when the machine runs with too little water. Here’s a somewhat unconventional but effective way to fix it:
- Unplug your Keurig and remove any coffee pods, the water reservoir, and the drip tray.
- Hold your Keurig with both hands and shake it like you’re mixing a cocktail. Keep shaking until you see water flowing out.
- Put everything back together and try brewing again.
Yes, it sounds a bit odd, but shaking the machine can actually dislodge any air bubbles in the waterline. If the ‘Add Water’ light is still on after trying these steps, it’s time to ring up Keurig support.
Keurig ‘Descale’ Light Flashing
When the ‘Descale’ light on your Keurig starts flashing, it’s essentially your coffee maker’s way of asking for a little TLC. This isn’t a signal for costly repairs but a reminder that it’s time for a cleaning routine.
Why Does This Happen?
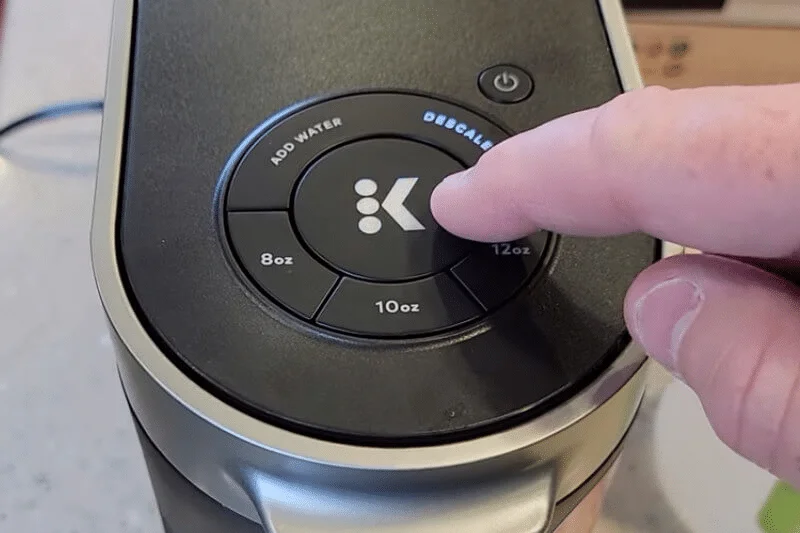
The water you use in your Keurig contains minerals that over time can lead to limescale buildup. This buildup can clog your machine and affect its performance. Descaling is the process of removing this mineral buildup, and once completed, the ‘Descale’ light should automatically turn off. For K Duo Keurig models, you’ll need to press and hold the 8 oz and 10 oz buttons for a few seconds to reset the descale alert.
What Can You Use for Descaling?
Keurig offers its own descaling solution compatible with all models. However, there are also third-party descaling solutions available online. These solutions are typically odorless and contain gentle citric acid that effectively removes mineral buildup without damaging your machine. Some even come in bundles with rinse pods and filters for a comprehensive cleaning. If you own a K-Duo model, look for bundles specifically designed for it.
What If the Light Doesn’t Turn Off?
If the ‘Descale’ light remains on after a cycle, it may be necessary to run another descaling cycle. This is especially likely if your water is hard, meaning it has a high mineral content, or if it’s been more than 3-6 months since your last descaling.
Keurig Blue Light Flashing

The blue light typically indicates that the water tank is low or empty. Keurig machines require a minimum amount of water to operate, and if the water level is too low, the machine won’t be able to complete a full brew cycle.
- Refill the Water Tank: The first step is to fill the water tank with fresh, clean water up to the marked level.
- Restart the Machine: If the blue light continues to flash after refilling, try turning off the machine, waiting for about fifteen seconds, and then turning it back on.
Once you’ve done this, the blue light should stop flashing, signaling that your Keurig is ready to brew your next cup of coffee.
Keurig Red Light Flashing
If you see a Keurig red light flashing and use a reusable K-Cup, you’ve likely packed your coffee grounds too tightly. This is a common issue with models that allow for reusable K-Cups, and it’s one that can be easily resolved.
When you overfill a K-Cup, the water from the machine struggles to filter through the coffee grounds. This makes the Keurig think there’s a blockage, triggering the red flashing light as an alert.
How to Prevent It
The solution is straightforward: don’t overpack your K-Cup. Each reusable K-Cup has a marked level indicating the maximum amount of coffee grounds it can hold. Stick to this level to ensure smooth brewing and to keep that red light from flashing.
Keurig Brew Button Flashing Red Light
When your Keurig’s brew button starts flashing instead of holding a steady red light, it’s not just trying to get your attention—it’s signaling that something’s amiss. Normally, a blinking red light means the machine is heating up, and a steady red light indicates it’s ready to brew.
It could be that you’re trying to brew with an already-used K-Cup, or perhaps the K-Cup is misaligned. To resolve this, remove the current K-Cup and replace it with a fresh one. Run a normal brew cycle and see if that solves the issue. But what if the blinking just won’t stop?
Most often, the culprit is debris—think calcium deposits or dried coffee grounds—that’s lodged in the pump or waterline. This interferes with the machine’s ability to brew your coffee smoothly.
How to Fix It
Here’s a step-by-step guide to get your Keurig back on track:
- Turn off and unplug your Keurig.
- Use a straw to blow air into the distribution line. This helps to dislodge any debris.
- Plug the machine back in and run a few brew cycles using only fresh water. This should flush out any remaining debris.
If all goes well, your Keurig should now brew without a hitch, and the flashing light should cease.
Keurig Elite Clock and Power Light Flashing

If you own a Keurig K-Elite and notice that both the CLOCK and POWER lights are flashing, it’s a sign that your machine is experiencing an internal error. Unlike other issues that may involve debris or water quality, this one is more about the machine’s internal mechanics.
- Disconnect your Keurig from the wall outlet and wait for a few minutes. This can sometimes reset minor glitches.
- Plug the machine back into the wall and press the power button.
If the lights continue to flash even after you’ve followed the initial steps, it’s time to take more drastic action—a factory reset. This will restore your Keurig to its original settings and often resolves persistent issues.
Keurig Frother Flashing Light
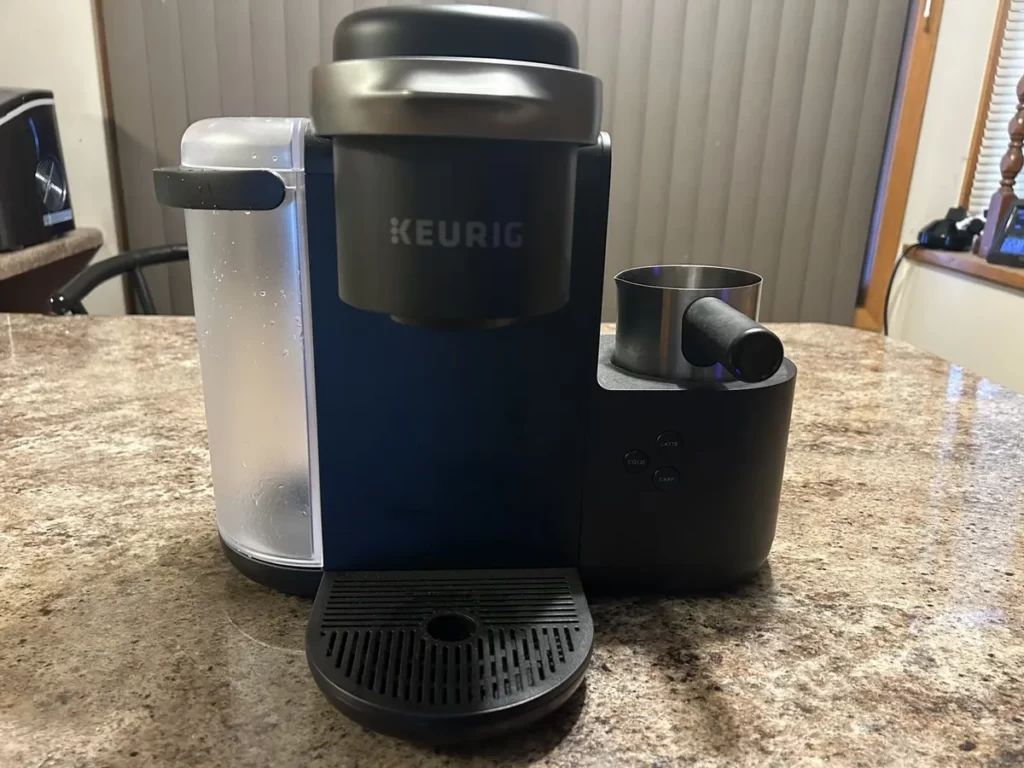
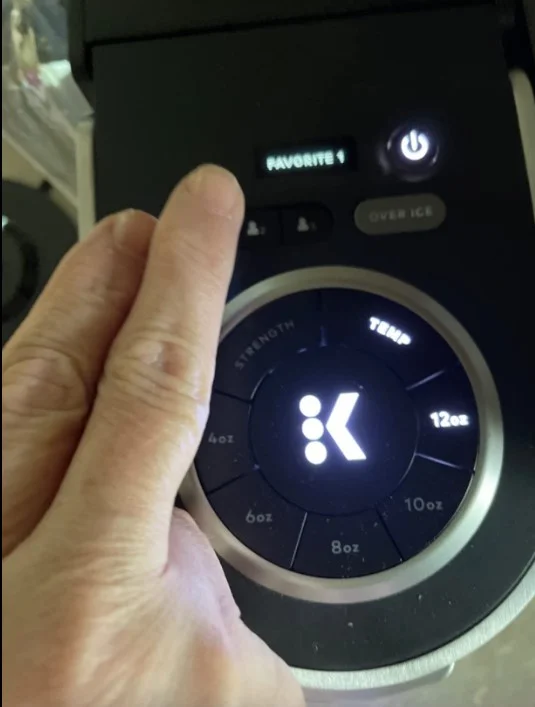
For those who enjoy a creamy latte or a frothy cappuccino, some Keurig models come equipped with a milk frother. The Keurig K Cafe has two specific frother alerts:
- Pulsing Light: If the light on the frother base is pulsing, it means you’re trying to froth milk while the coffee is still brewing. The machine doesn’t allow simultaneous brewing and frothing. Wait for the coffee to finish brewing, and then the frother will kick in.
- All Lights Flashing: If all the lights on the Keurig frother base are flashing, you could be facing one of three issues:
- Check the Whisk: Make sure the whisk is properly placed in the frother.
- Check Milk Level: Ensure there’s enough milk in the frother.
- Secure Attachment: Confirm that the frother is securely attached to its base.
For more in-depth Keurig Frother troubleshooting, you can check out this guide on Keurig Not Working.
Final Words
Keurig flashing lights doesn’t have to be a daunting task. Each light, whether it’s red, blue, or another color, serves as a helpful guide, pointing you toward the solution your machine needs. From refilling the water tank to adjusting a packed K-Cup, these issues are generally straightforward to resolve. You can also face some Keurig error codes that will confuse you if you are a new user of Keurig. So the next time your Keurig starts flashing lights at you, don’t fret. Simply refer back to this guide, and you’ll be sipping your favorite brew.
FAQs
Why Does My Keurig K-Express Blink Twice Then Turn Off?
If your Keurig K-Express is blinking twice and then shutting down, it’s likely an issue related to overheating. The machine is designed with safety features that automatically turn it off if it detects unusually high temperatures, preventing potential damage or hazards.

